
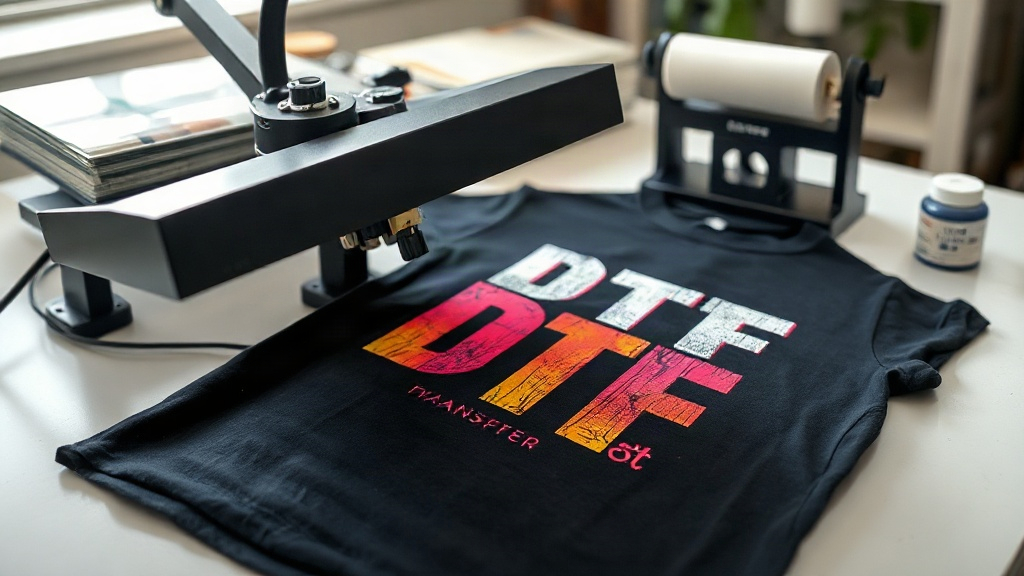
Imagine pressing a vibrant, full-color design onto a dark cotton t-shirt without any weeding, masking, or specialty vinyl. That's the promise of DTF transfers, and it's why they've become a go-to method for crafters and small business owners alike. Whether you're new to garment decoration or looking to expand your services, understanding the ins and outs of DTF printing can save you time, money, and frustration. In this guide, I'll walk you through what DTF transfers are, how to apply them correctly, and how to make them last. Let's dive in.
What Are DTF Transfers?
DTF stands for Direct to Film. It's a printing method where your design is printed onto a special PET film using water-based pigment inks. While the ink is still wet, a thermoplastic polyurethane (TPU) powder is applied and cured. This powder becomes the adhesive that bonds the design to the fabric when heat pressed. The result is a transfer that can be applied to almost any fabric, including cotton, polyester, blends, and even leather. Unlike DTG (Direct to Garment) printing, DTF doesn't require pre-treatment, and it works on dark colors without a white underbase. That flexibility is a game-changer for anyone who prints on a variety of garments.
Why Choose DTF Transfers Over Other Methods?
If you've tried heat transfer vinyl (HTV) or screen printing, you know each has its limitations. HTV requires weeding, which is time-consuming for intricate designs, and it can be tricky to layer multiple colors. Screen printing is cost-effective for large orders but expensive for small runs. DTF transfers eliminate those pain points. You can print full-color, photographic-quality designs in one go, with no weeding and no minimum order. Plus, the transfers are thin and stretchable, so they feel comfortable on the garment. For small businesses or hobbyists, DTF offers a low barrier to entry and high versatility.
How to Apply DTF Transfers: Step-by-Step
Applying a DTF transfer is straightforward, but following the right steps ensures a durable, professional finish. Here's the process I use in my own shop.
1. Prepare Your Workspace and Garment
Set your heat press to the recommended temperature, usually between 300°F and 325°F (150°C to 160°C). Pre-press the garment for a few seconds to remove moisture and wrinkles. This step is often overlooked, but it prevents steam from interfering with the adhesive.
2. Position the Transfer
Place the DTF transfer on the garment with the printed side facing up. The powder side should be against the fabric. If you're using a transfer with a carrier film, make sure the design is oriented correctly. Use heat-resistant tape if needed to keep it in place.
3. Press with Medium Pressure
Apply medium pressure for 10 to 15 seconds. Too little pressure and the design won't adhere; too much and the ink can spread. I recommend testing with a scrap piece first to dial in your press.
4. Peel While Hot or Cold?
Most DTF transfers are hot peel, meaning you remove the film immediately after pressing while it's still hot. However, some suppliers recommend a cold peel. Always check the instructions that come with your transfers. If in doubt, try a hot peel first; it usually gives a smoother finish.
5. Post-Press for Durability
After peeling, cover the design with a Teflon sheet or parchment paper and press again for 5 to 10 seconds. This second press ensures the adhesive fully bonds and improves wash durability. I never skip this step.
Common Mistakes to Avoid with DTF Transfers
Even seasoned crafters can run into issues. Here are the most common pitfalls and how to sidestep them.
- Using the wrong temperature: Too hot and the film can melt or the ink can scorch; too cool and the adhesive won't activate. Invest in a heat gun or infrared thermometer to verify your press temperature.
- Insufficient pressure: If the transfer peels off after washing, pressure is often the culprit. Adjust your press and test again.
- Not pre-pressing: Moisture in the fabric creates steam, which can cause the transfer to lift. Always pre-press.
- Peeling too early or too late: Follow the peel recommendation for your specific film. Hot peel films should be removed immediately; cold peel films need to cool completely.
- Stretching the transfer: DTF transfers can stretch, but overstretching during application can distort the design. Handle with care.
Caring for DTF Transfers: Wash and Wear Tips
To keep your DTF prints looking fresh, follow these care guidelines. Turn the garment inside out before washing. Use cold water and a gentle cycle. Avoid bleach and fabric softeners, which can break down the adhesive. Tumble dry on low or hang dry. If you need to iron, do it inside out and avoid direct heat on the print. With proper care, a DTF transfer can last as long as the garment itself. I've seen prints survive dozens of washes without fading or cracking when these rules are followed.
DTF Transfers on Different Fabrics
One of the biggest advantages of DTF is its versatility. It adheres well to cotton, polyester, cotton-poly blends, and even nylon and leather. However, there are nuances. On 100% polyester, use a lower temperature (around 280°F) to prevent dye migration. On stretchy fabrics like spandex, the transfer will stretch with the garment without cracking. For leather, test a small area first, as some finishes may be sensitive to heat. Always do a test press on a scrap piece of the same fabric before committing to a full order.
Designing for DTF Transfers
When creating artwork for DTF, keep a few things in mind. DTF prints white ink as a base, so your design can have transparent areas; those will show the fabric color. Use high-resolution images (300 DPI) for crisp details. Avoid very fine lines or tiny text, as they may not reproduce perfectly. If your design has a lot of fine detail, consider simplifying or enlarging it. Also, remember that DTF transfers have a slight hand feel; large solid areas may feel a bit thicker, but they remain flexible.
Frequently Asked Questions About DTF Transfers
How long do DTF transfers last?
With proper application and care, DTF transfers can last 50+ washes or more. The key is correct temperature, pressure, and post-pressing. Following the wash instructions will also extend their life.
Can I apply DTF transfers with a home iron?
While it's possible, a home iron doesn't provide consistent pressure or temperature, so results may be uneven. A heat press is strongly recommended for professional, durable results. If you must use an iron, use the highest setting without steam and press firmly for 30-45 seconds.
Do DTF transfers work on dark colors?
Yes, DTF transfers are excellent on dark fabrics because they include a white ink layer that makes colors pop. Unlike DTG, no white underbase is needed separately.
What's the difference between DTF and DTG?
DTF involves printing on a film and transferring to the garment, while DTG prints directly onto the fabric. DTF works on more fabric types, requires no pre-treatment, and is more cost-effective for small batches. DTG is better for large runs on 100% cotton.
Can I stretch DTF transfers?
Yes, DTF transfers are stretchable and will move with the fabric without cracking, provided they are applied correctly. They are ideal for athletic wear and stretchy materials.