
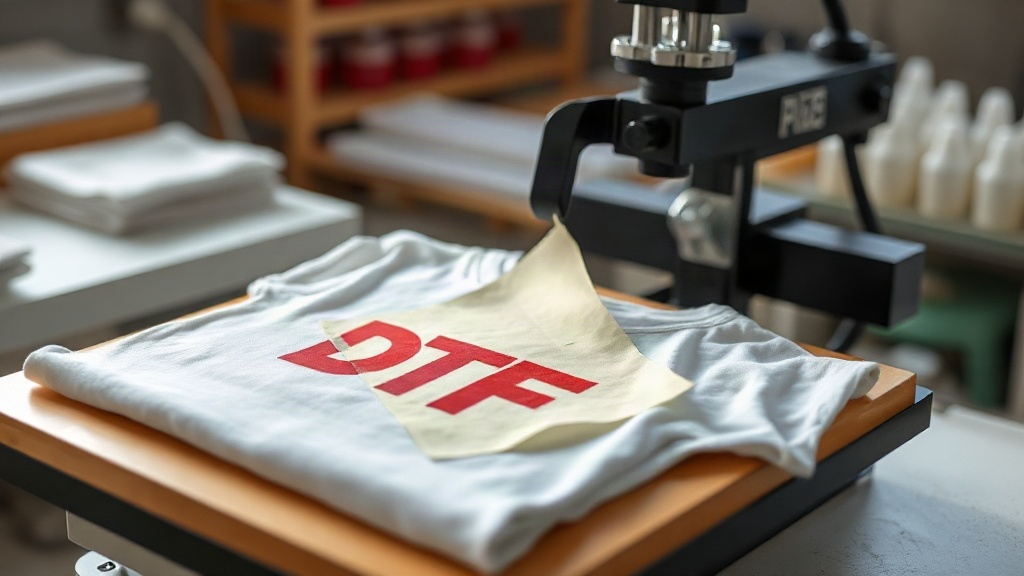
If you've been exploring custom apparel printing, you've likely encountered DTF transfers. This technology has rapidly gained popularity for its versatility and vibrant results. Unlike traditional methods, DTF transfers allow you to print full-color designs on a wide range of fabrics without the need for weeding or specialized equipment. In this guide, we'll walk you through everything you need to know to get started with DTF transfers, from understanding the process to applying them like a pro.
What Are DTF Transfers?
DTF stands for Direct-to-Film. It's a printing method where your design is printed onto a special PET film using water-based inks, then coated with a hot-melt adhesive powder. Once the powder is cured, the transfer is ready to be applied to fabric using a heat press. The result is a soft, stretchable print that bonds permanently to the material. DTF transfers are compatible with cotton, polyester, blends, and even treated nylon, making them a go-to choice for diverse projects.
Why Choose DTF Transfers Over Other Methods?
You might wonder how DTF compares to screen printing, DTG, or vinyl. Here are key advantages:
- No color limitations: DTF can reproduce complex, multi-color designs with gradients and fine details without extra cost.
- Fabric versatility: Works on light and dark garments, including 50/50 blends and synthetic fabrics.
- Durability: Properly applied DTF prints resist cracking, peeling, and fading after many washes.
- Cost-effective for small batches: No setup fees or minimums, ideal for one-off items or small runs.
- Soft feel: The prints are thin and flexible, not rubbery like some vinyl options.
These benefits make DTF transfers a smart choice for custom t-shirts, hoodies, tote bags, and more.
How to Apply DTF Transfers: Step-by-Step
Applying DTF transfers is straightforward, but following precise steps ensures a professional finish. Here's what you need:
- Heat press (or iron with caution)
- DTF transfer film with your design
- Parchment paper or Teflon sheet
- Garment (pre-pressed to remove moisture)
Step 1: Prepare Your Workspace
Set your heat press to the recommended temperature, typically 300°F to 325°F (150°C to 160°C). Pre-press the garment for 5-10 seconds to eliminate wrinkles and moisture. This step is crucial for proper adhesion.
Step 2: Position the Transfer
Place the DTF transfer face-down onto the fabric. Ensure it's exactly where you want it; once pressed, repositioning is difficult. If you're using a carrier sheet, make sure the design is centered.
Step 3: Press and Peel
Cover the transfer with parchment paper or a Teflon sheet. Apply medium pressure for 10-15 seconds. For best results, use a press with consistent pressure. After pressing, allow the transfer to cool completely before peeling. This is a "cold peel" process for most DTF films. Peel slowly from one corner.
Step 4: Post-Press for Durability
For added wash resistance, cover the printed area with parchment and press again for 5-10 seconds. This second press ensures the adhesive fully bonds with the fibers.
Common Mistakes to Avoid with DTF Transfers
Even seasoned crafters can run into issues. Watch out for these pitfalls:
- Insufficient pressure: Leads to poor adhesion and early peeling. Adjust your press accordingly.
- Wrong temperature: Too hot can scorch the film; too cool won't activate the adhesive.
- Peeling too soon: Always wait until the transfer is completely cool.
- Ignoring fabric type: Some fabrics like untreated nylon require lower temps. Always test a swatch.
By avoiding these, you'll achieve consistent, professional results.
DTF Transfers vs. Other Printing Methods: A Quick Comparison
Let's break down how DTF stacks up against common alternatives:
- Screen Printing: Better for large orders of simple designs; DTF wins for complex, small batches.
- DTG (Direct-to-Garment): Best on 100% cotton; DTF works on more fabrics and often has brighter colors on dark shirts.
- Vinyl (HTV): Great for simple text and shapes; DTF handles intricate designs without weeding.
- Sublimation: Only for polyester and light colors; DTF is more versatile.
Each method has its place, but DTF transfers offer a unique blend of flexibility and quality.
Tips for Long-Lasting DTF Prints
To ensure your DTF transfers withstand the test of time, follow these care guidelines:
- Wait 24 hours before first wash.
- Turn garment inside out and wash in cold water.
- Avoid bleach and fabric softeners.
- Tumble dry low or hang dry.
- Iron inside out, never directly on the print.
With proper care, your prints will stay vibrant for years.
Frequently Asked Questions About DTF Transfers
Can I use DTF transfers on 100% polyester?
Yes, DTF transfers work well on polyester. However, because polyester is heat-sensitive, use a lower temperature (around 280°F to 300°F) and test a small area first to avoid scorching or dye migration.
Do I need a special printer for DTF transfers?
You can purchase pre-printed DTF transfers from suppliers, or if you want to print your own, you'll need a DTF printer with DTF inks and film. Many small businesses start by outsourcing transfers and later invest in their own setup.
How durable are DTF transfers after washing?
When applied correctly and cared for properly, DTF transfers can last 50+ washes without significant fading, cracking, or peeling. The key is using the right temperature, pressure, and post-pressing.
Can I stretch the garment after applying DTF transfers?
Yes, DTF transfers are stretchable and will move with the fabric. This makes them ideal for athletic wear and fitted garments. Just avoid overstretching immediately after application.
DTF transfers have revolutionized custom apparel printing by offering unmatched versatility and professional results without complex setup. Whether you're a hobbyist or a growing business, mastering DTF transfers can open up a world of creative possibilities. With the right techniques and care, you'll produce prints that impress and endure.